
How to Create an Online Course on Teachable: Complete 2026 Guide

Creating a course on Teachable is straightforward once you understand the platform's workflow. This guide covers every step from signing up to making your first sale — based on building 3 courses on the platform over 8 months.
What you will have after following this guide: A published course on Teachable with video content, a sales page, pricing set up, and payment processing ready to accept students.
Time to complete: 2-4 weeks for a solid first course, assuming you already have your content planned. The technical setup takes 1-2 days; creating and uploading content takes the rest.
Step 1: Sign Up for Teachable
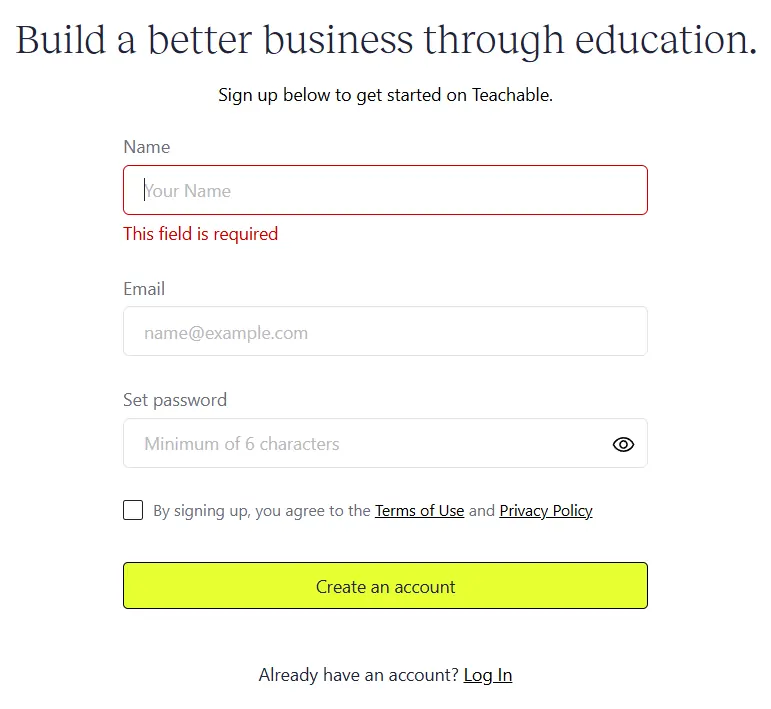
Go to Teachable and create your account. Start with the free plan — you can build your entire course before paying anything.
During signup, you will:
Choose your school name carefully — it appears in your URL on the free plan (yourname.teachable.com). If you plan to upgrade and use a custom domain later, the school name matters less.
Step 2: Plan Your Course Structure
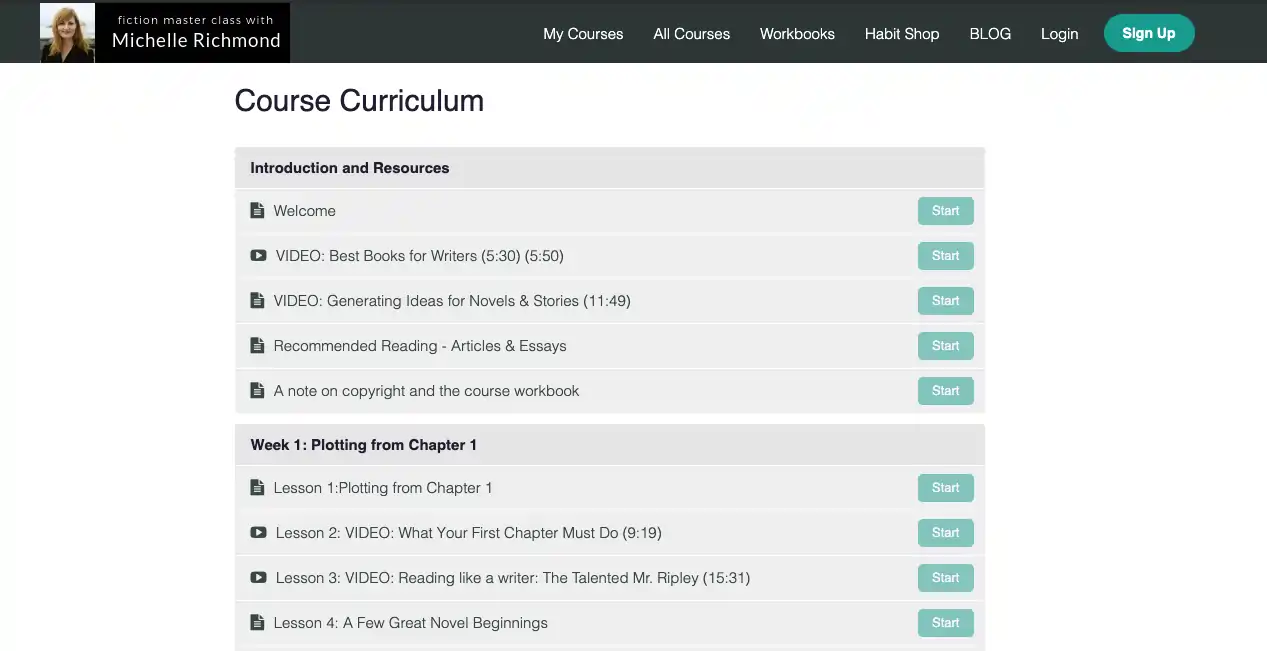
Before touching the builder, outline your course on paper or in a document. Teachable uses this hierarchy:
Course → Sections → Lectures
Sections are your modules or chapters. Lectures are individual lessons within sections.
Planning template:
Course: [Your Course Title]

Section 1: [Module Name]
  - Lecture 1: [Topic] (video, 10 min)
  - Lecture 2: [Topic] (video + text, 15 min)
  - Lecture 3: [Quiz - 5 questions]

Section 2: [Module Name]
  - Lecture 1: [Topic] (video, 12 min)
  ...
Key decisions to make now:
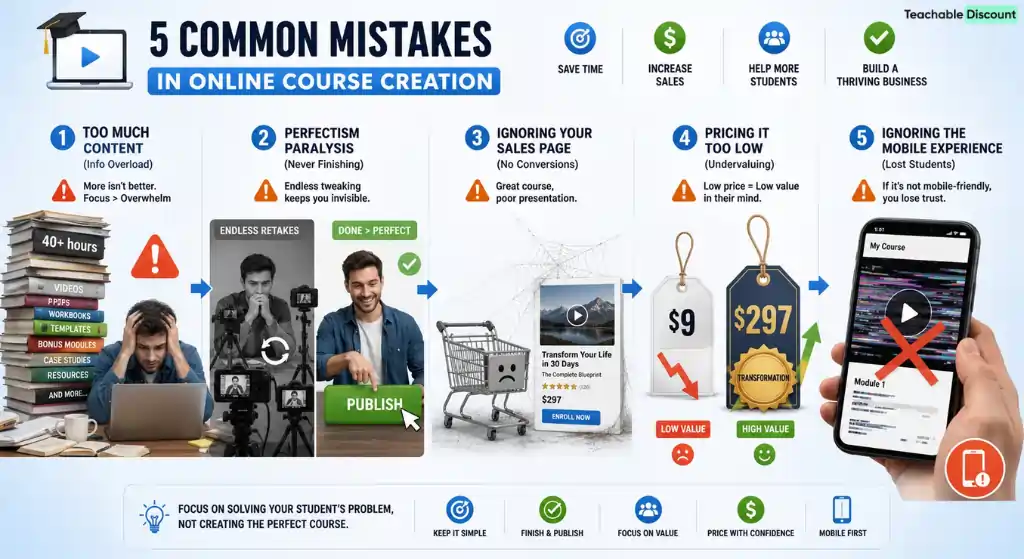
Planning first prevents the common mistake of recording 40 hours of video that no one completes. Shorter, focused courses have higher completion rates and better reviews.
Step 3: Create Your Course in Teachable
In your Teachable admin panel:
- Click “Products” in the left menu
- Click “New Product”
- Select “Course” as the product type
- Choose a template (Flagship Course for most creators) or start from scratch
- Name your course
Your course is now created in draft mode. No one can see it until you publish.
Step 4: Build Your Curriculum
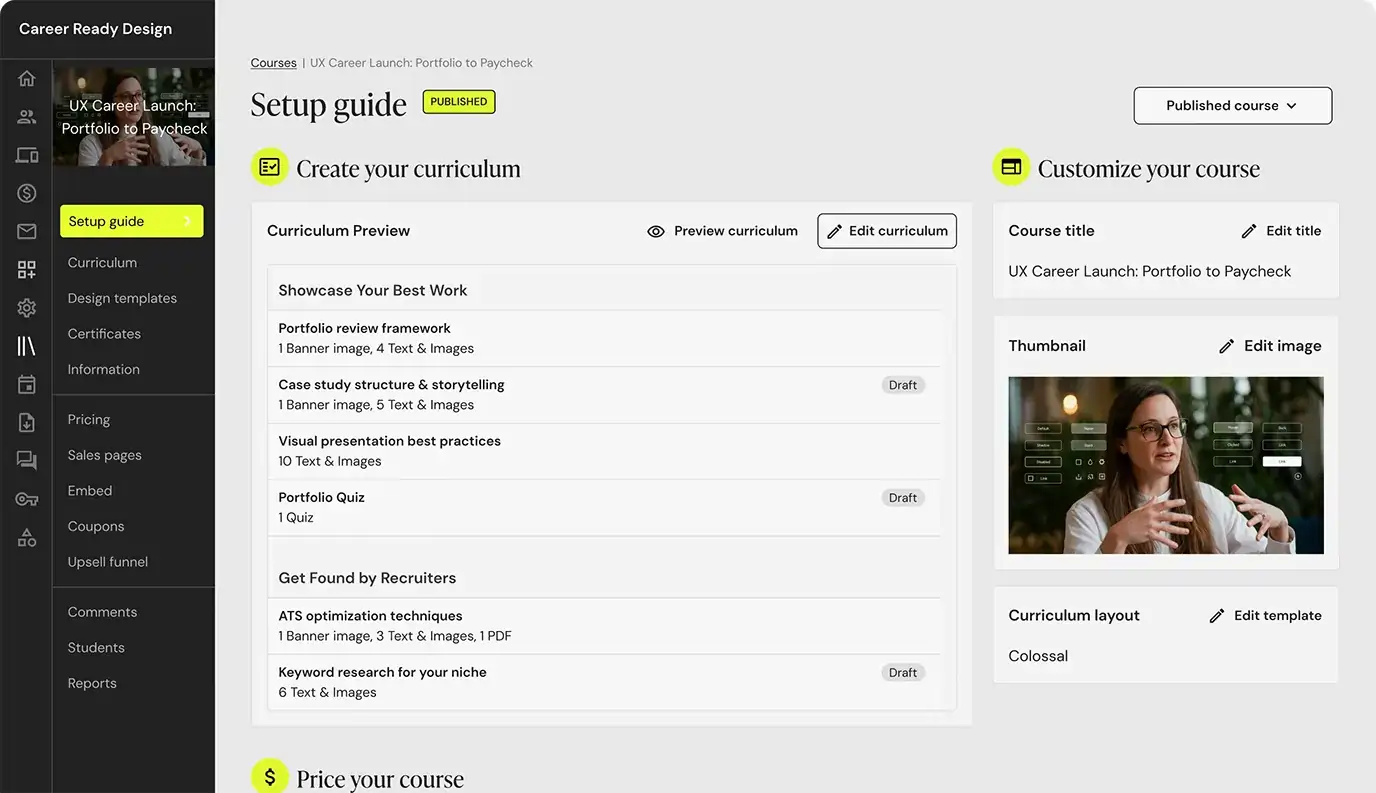
Click into your course and navigate to the “Curriculum” tab. Here you will build your sections and lectures.
Adding sections:
Adding lectures:
Content creation tips from experience:
For video lectures:
For text lectures:
For downloadable resources:
For quizzes:
Step 5: Set Up Your Sales Page
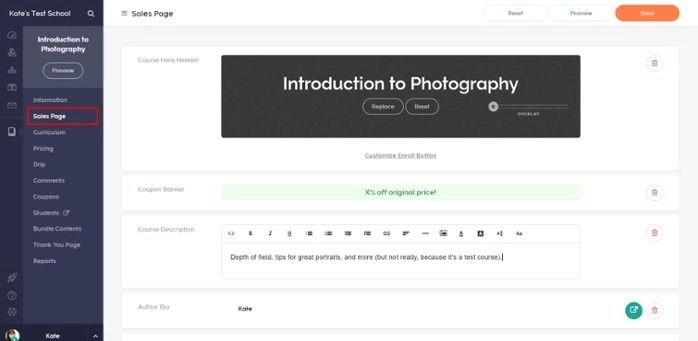
Navigate to the “Pages” tab within your course. Teachable provides a block-based sales page editor.
Essential sales page elements:
- Headline: Clear statement of what the student will learn or achieve
- Subheadline: Specific outcome or transformation promised
- Who this is for: 3-4 bullet points describing your ideal student
- Curriculum overview: Section list showing what is included
- About the instructor: Your credentials and experience
- Social proof: Testimonials, student count, or ratings (add these as you get them)
- Pricing: Clear pricing with a prominent CTA button
- FAQ: Address the 5-6 most common objections
- Guarantee: Money-back guarantee terms if you offer one
The sales page editor is functional but design-limited. If you need a more polished sales page, consider creating it on WordPress or your main website and linking to Teachable's checkout page directly.
Step 6: Set Your Pricing
Go to the “Pricing” tab to create your pricing plan.
Options:
Pricing strategy for your first course:
If you have no audience yet, price lower ($29-79) to get initial students and reviews. You can raise prices later.
If you have an existing audience, price based on the transformation your course provides. A course that helps someone land a new job or start a business can justify $199-499.
Payment plans significantly increase conversions for higher-priced courses. Offering a 3-payment option for a $297 course can increase sales by 20-40%.
Step 7: Connect Payment Processing
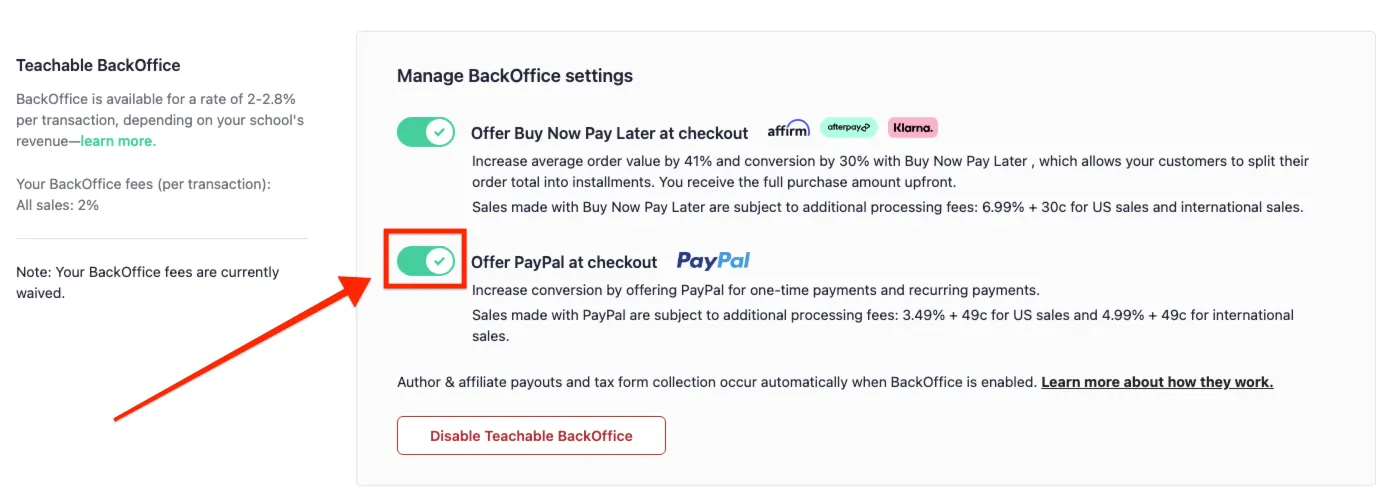
Navigate to Settings → Payments in your Teachable admin.
Stripe Setup:
- Click “Connect Stripe”
- Create a Stripe account or connect an existing one
- Follow Stripe's verification process (takes 1-2 days)
PayPal Setup:
- Click “Connect PayPal”
- Enter your PayPal business email
- Confirm the connection
Having both Stripe and PayPal active gives students payment flexibility. Some prefer credit card (Stripe), others prefer PayPal. Offering both can increase conversions by 10-15%.
Step 8: Configure Your School Settings
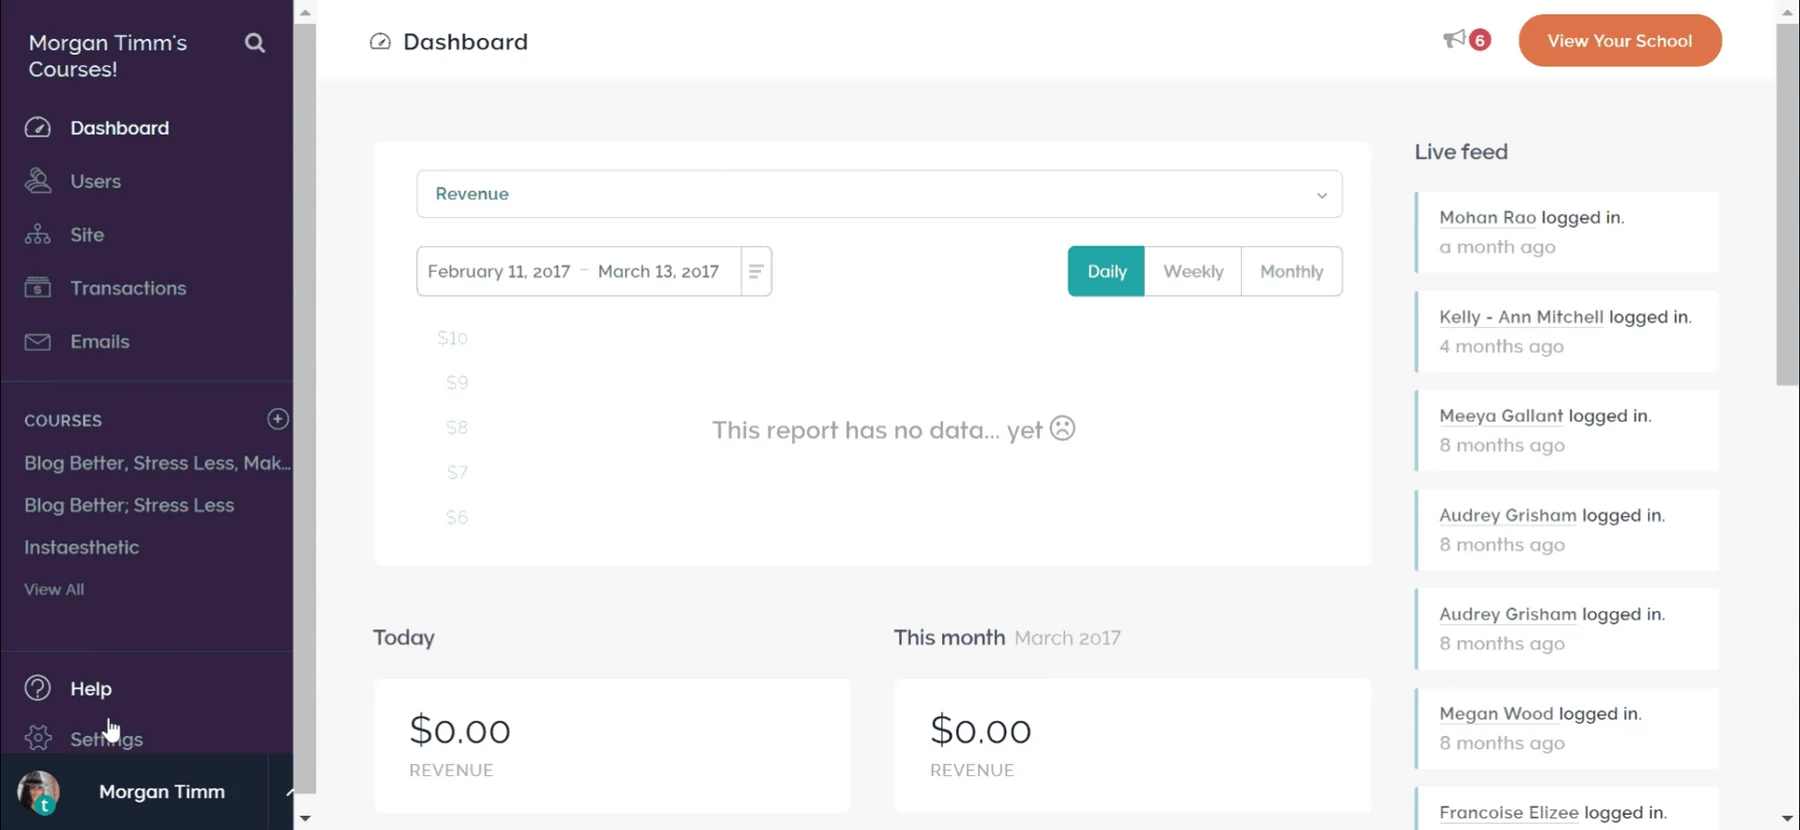
Before publishing, configure these settings:
Custom Domain (paid plans):
Email Settings:
Branding:
Step 9: Publish Your Course
Once your content is uploaded, sales page is ready, and pricing is configured:
- Go to the “Information” tab of your course
- Toggle the course from “Draft” to “Published”
- Your course is now live and accessible via its URL
Pre-launch checklist:
Step 10: Make Your First Sale
Your course is live. Now you need students. Here are the most effective strategies for your first 10 sales:
Your existing audience (fastest):
Content marketing (medium-term):
Partnerships (leveraged):
The first 10 students matter most. Get them enrolled quickly, ask for feedback, and use their testimonials to sell to the next 100.
Common Mistakes to Avoid
What to Do After Your First Course
Once your first course is selling:
- Collect student feedback and testimonials
- Update content based on common questions
- Plan your second course based on student demand
- Consider adding coaching as an upsell
- Build a community for student engagement
- Evaluate upgrading your plan if transaction fees exceed the next tier's cost — see the pricing guide

OUR RECOMMENDATIONS


